Bathroom makeover shows on TV make the bathroom remodeling process look easy. For example, you’ll never see anyone struggling to install floor tile – by ending with whole tiles on one side of the room and tile slivers along the other wall. All of the fixtures on bathroom remodel shows fit perfectly. There are never any broken water supply lines or rotten walls discovered behind the old tub.
Contents [hide]
- 1 DIY Bathroom Remodeling in 9 Easy Steps
- 1.1 Step 1: Create a Bathroom Renovation Plan
- 1.2 Step 2: Permits and Inspections Process
- 1.3 Step 3: Demolition Before the Bathroom Remodel
- 1.4 Step 4: Framing and Drywall for Your Bathroom
- 1.5 Step 5: Install Plumbing, Electrical, and HVAC
- 1.6 Step 6: Tiling, Flooring, and Painting the Bathroom
- 1.7 Step 7: Remodeling Your Bathroom’s Cabinetry
- 1.8 Step 8: Installing New Fixtures
- 1.9 Step 9: Finishing Touches for Your Bathroom Makeover
- 2 Start the Bathroom Remodel Process with an Updated Shower or Tub
DIY Bathroom Remodeling in 9 Easy Steps
Keep in mind that DIY bathroom renovations can be a nightmare. Even though many homeowners – in an attempt to save money – start bathroom renovations on their own, many eventually seek professional help.
So, if you are considering completing your own bathroom renovation project, here’s a reality check. We’ll walk you through the basic steps of the bathroom remodeling process.
Although there may be parts of the process you feel comfortable completing on your own, consider saving the plumbing and electrical portion of the bathroom remodel for the professionals.
Step 1: Create a Bathroom Renovation Plan
It can be fun to design a new bathroom. You may begin the process by looking at high-end soaking bathtubs, sparkling ceiling lights, and new fixtures and vanities. You may have dreams of creating the perfect “powder room” or bathroom with a spa-like appearance. However, be aware that your remodeling costs can quickly skyrocket if you aren’t careful.
Unless you have unlimited resources, you’ll quickly discover that the most budget-friendly way to complete a bathroom renovation is to keep the essential fixtures in the same place.
With those restrictions in mind, you can select a new enclosure that is perfect for your alcove bathtub. Also, toss aside your idea for the second sink because that project would require additional plumbing that would increase the budget.
Once you have created a remodel plan and shopped around for the materials, you can start one of the most satisfying steps of bathroom remodels – the demolition process. But first – make sure you have the appropriate permits.
Step 2: Permits and Inspections Process
You may need a permit and follow-up inspections when completing a bathroom remodel. Requirements vary from city to city. Of course, one benefit of using local remodeling contractors is that they often take care of the permit and inspection process for you.
Step 3: Demolition Before the Bathroom Remodel
The demolition process may be quite satisfying if you hate your aging bathroom. You’ll finally be able to smash those pink wall tiles that have been haunting you for years and remove that gross, outdated shower stall.
Yes, the demolition process can be satisfying and enable you to start your project with a blank canvas. First, however, you need to plan how to dispose of the construction debris. Unfortunately, most city trash collection services won’t allow you to fill your bin with heavy floor tiles or unwanted vanity tops.
You also need to consider how much demolition is necessary. Don’t become so confident with the sledgehammer that you remove the Sheetrock from your perfect ceiling.
Step 4: Framing and Drywall for Your Bathroom
If you are changing the bathroom’s structure and floor plan, the next step is framing.
Even if you didn’t expect to do much Sheetrock work, you might be forced to if you uncover water damage or mold after removing the old fixtures. Unfortunately, you never know what damage you might find when completing a bathroom remodel. So you have to be prepared for anything.
Please note that there’s a difference between regular drywall (Sheetrock is a brand name of drywall) and cement board. Cement board is typically used for bathroom renovation projects because it is more resistant to moisture.
Step 5: Install Plumbing, Electrical, and HVAC
Of course, before you install the drywall, you may need to complete plumbing, electrical, and HVAC work in the floors, ceiling, and walls.
You might need to outsource this unless you feel confident working with electrical wiring and water supply lines.
Outsourcing this work may extend the length of the project. After all, finding recommendations for plumbers and electricians in your area will take time.
In addition, you may want to get multiple bids, which will prolong the process. Finally, getting on your plumber’s or electrician’s schedule will also take time.
Step 6: Tiling, Flooring, and Painting the Bathroom
Depending on the scope of your bathroom renovation process, you might need to install floor or wall tile or, at a minimum – paint the new drywall.
Tile work requires knowledge, skill, and equipment. Plan on adding several coats of interior paint when applying it directly to new drywall or cement board.
Step 7: Remodeling Your Bathroom’s Cabinetry
Once the walls, ceiling, and floors are completed, you can continue the project by installing cabinetry (such as the bathroom vanity) and additional storage solutions.
It will be satisfying to see your bathroom take shape. However, unfortunately, you will still have a lot of complicated work ahead of you in the next step.
Step 8: Installing New Fixtures
If you are using a plumber or electrician, it’s time to get on their schedule – again. The electrician will need to install your bathroom lighting fixtures and exhaust fan.
The plumber will need to install the sinks, faucets, toilet, and shower head. There are risks to completing these tasks on your own.
Step 9: Finishing Touches for Your Bathroom Makeover
After the electrical and plumbing projects are completed, there’s still much to do. Before using the space, you’ll need to install mirrors, shower doors (or shower curtain rod), towel bars, grab bars, and light switch plates.
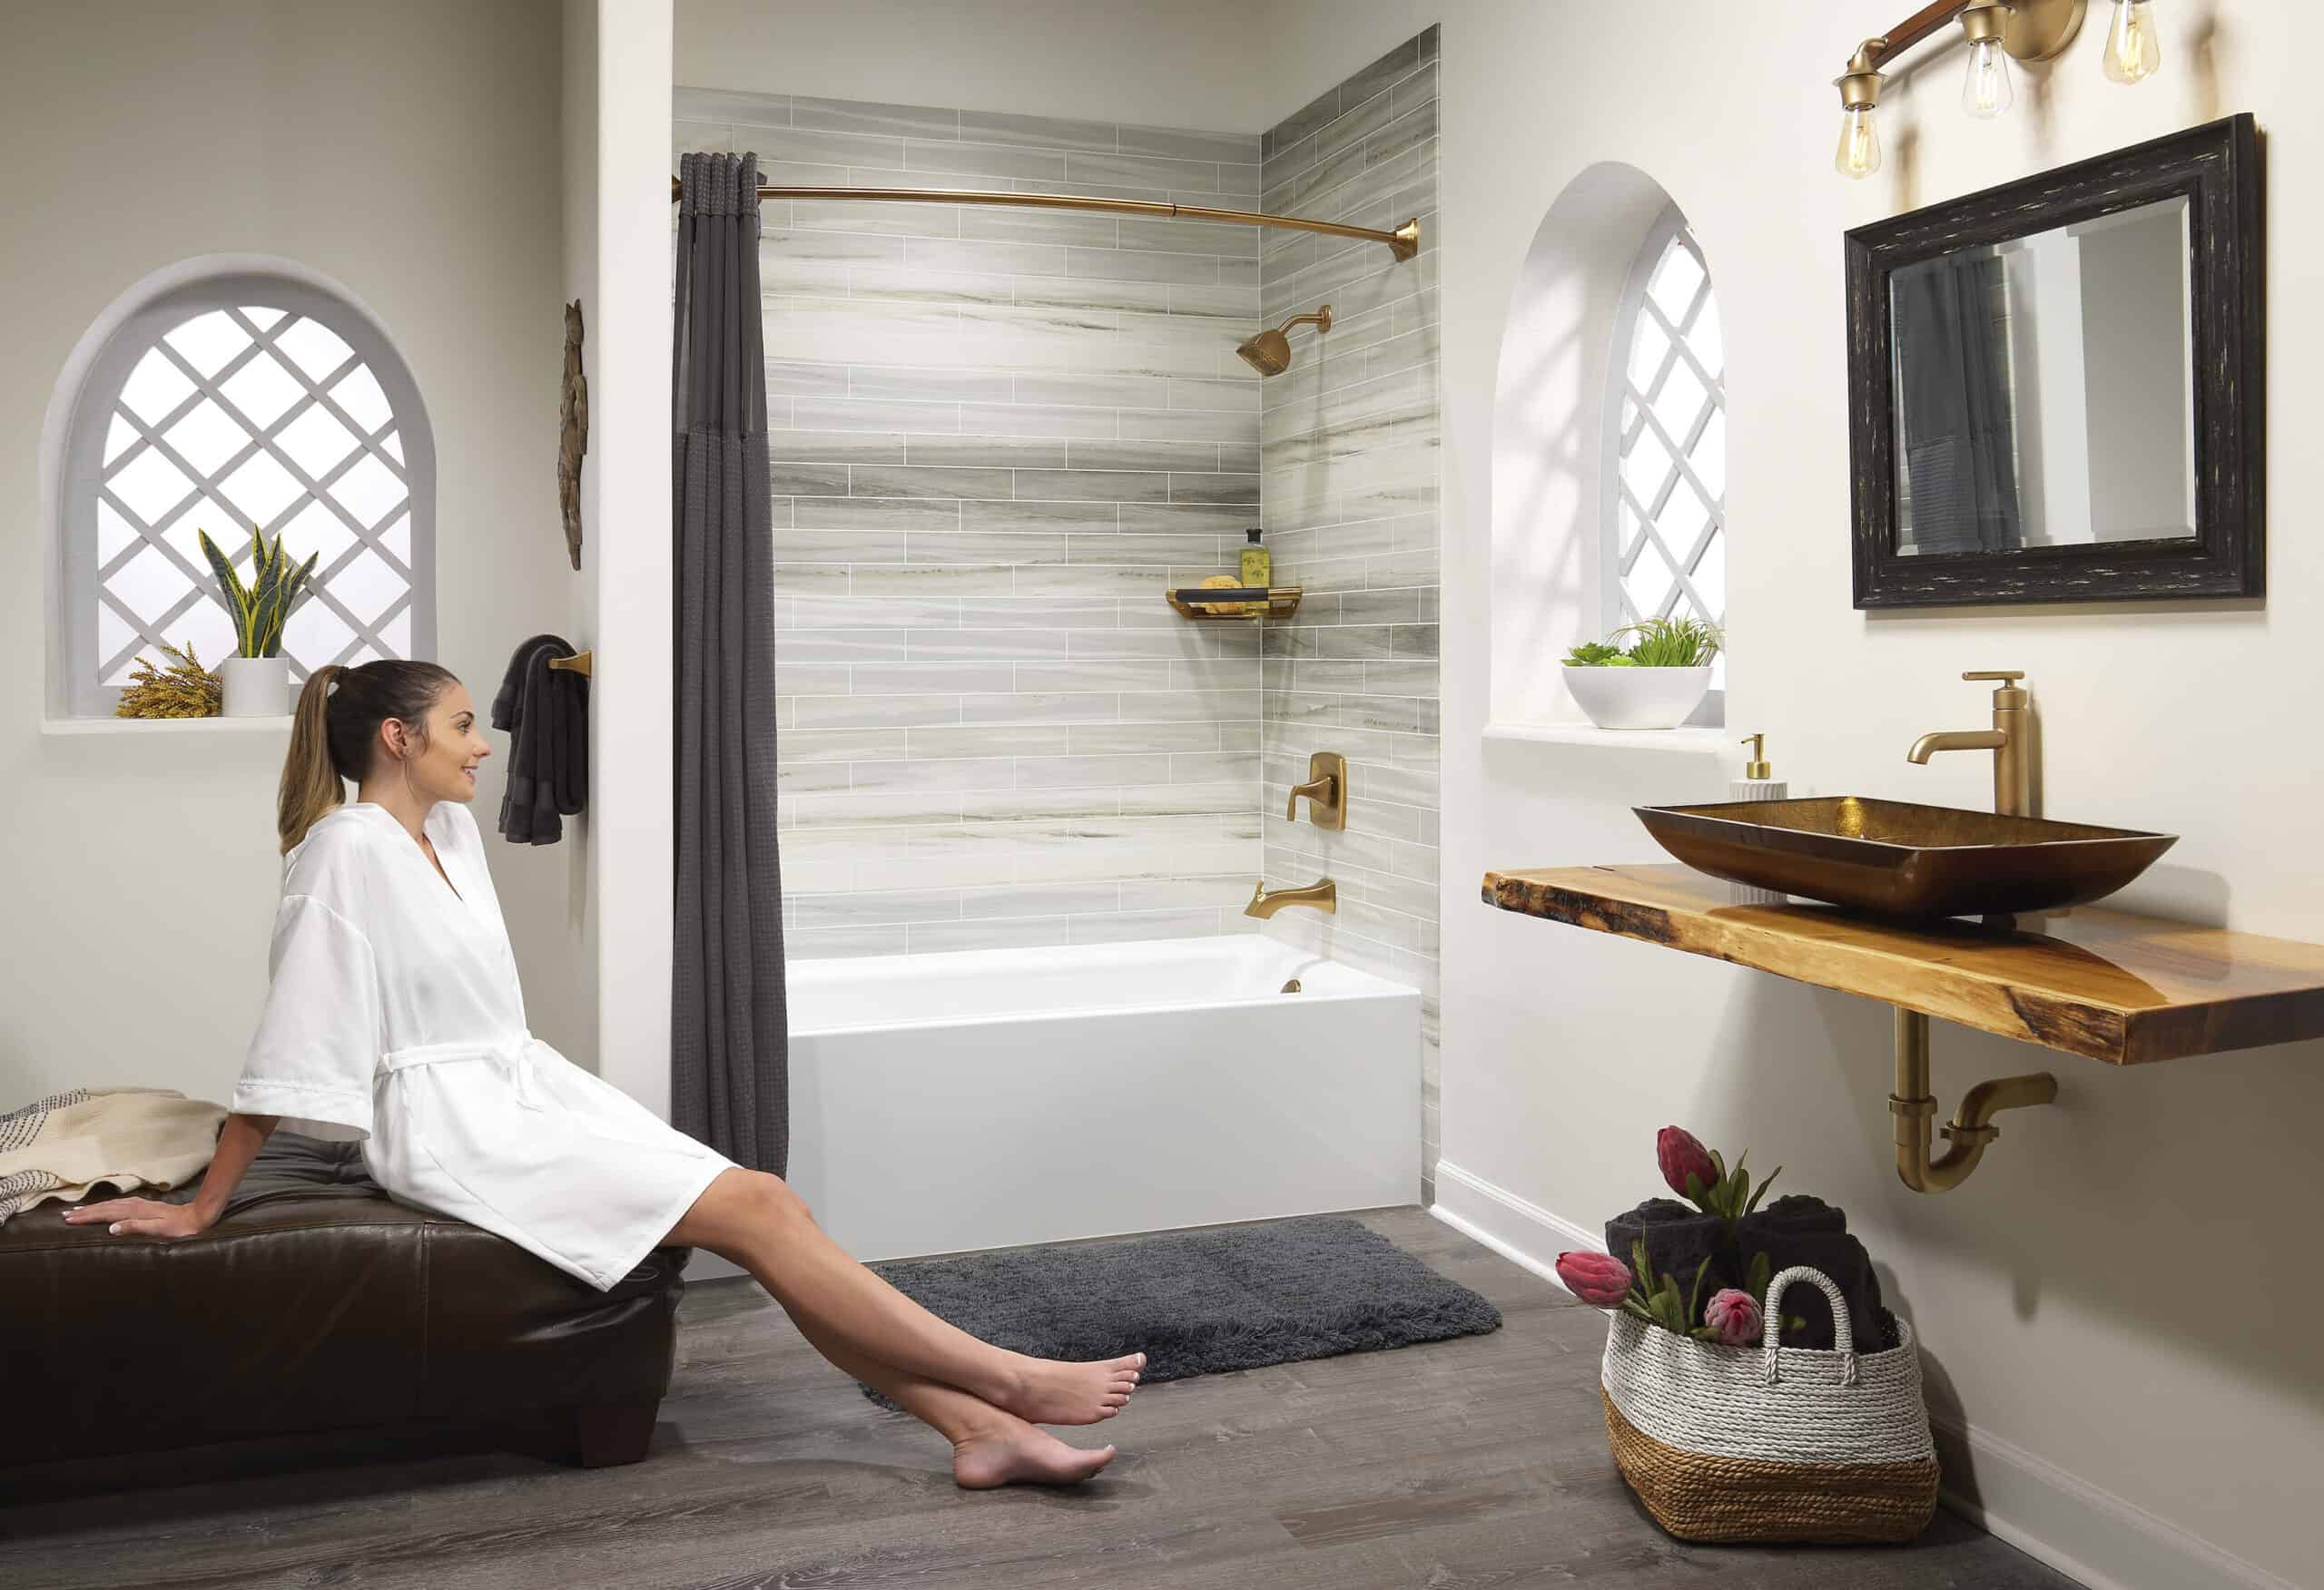
You may enjoy this part of the bathroom remodel – especially when you load your new storage cabinet with fresh towels and hang new bathroom decor on the walls.
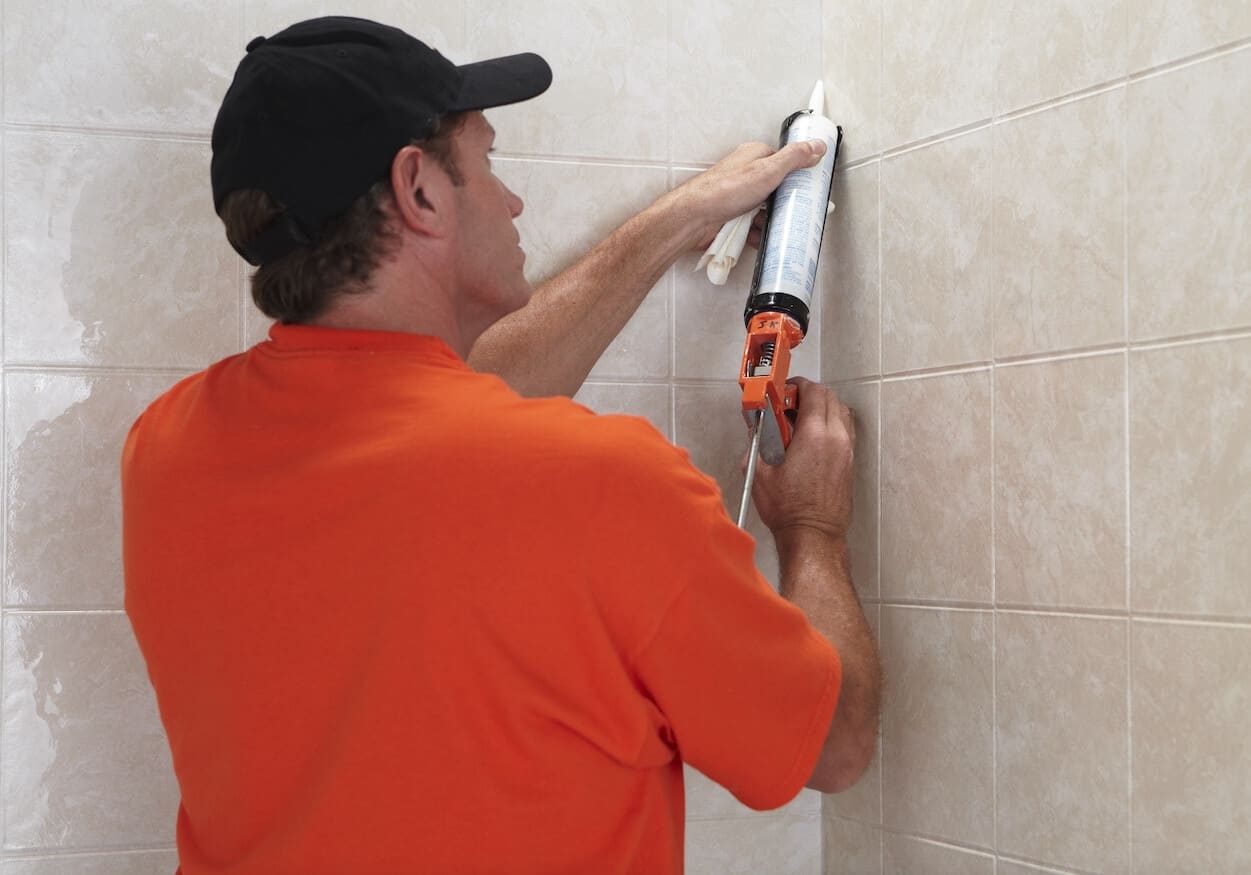
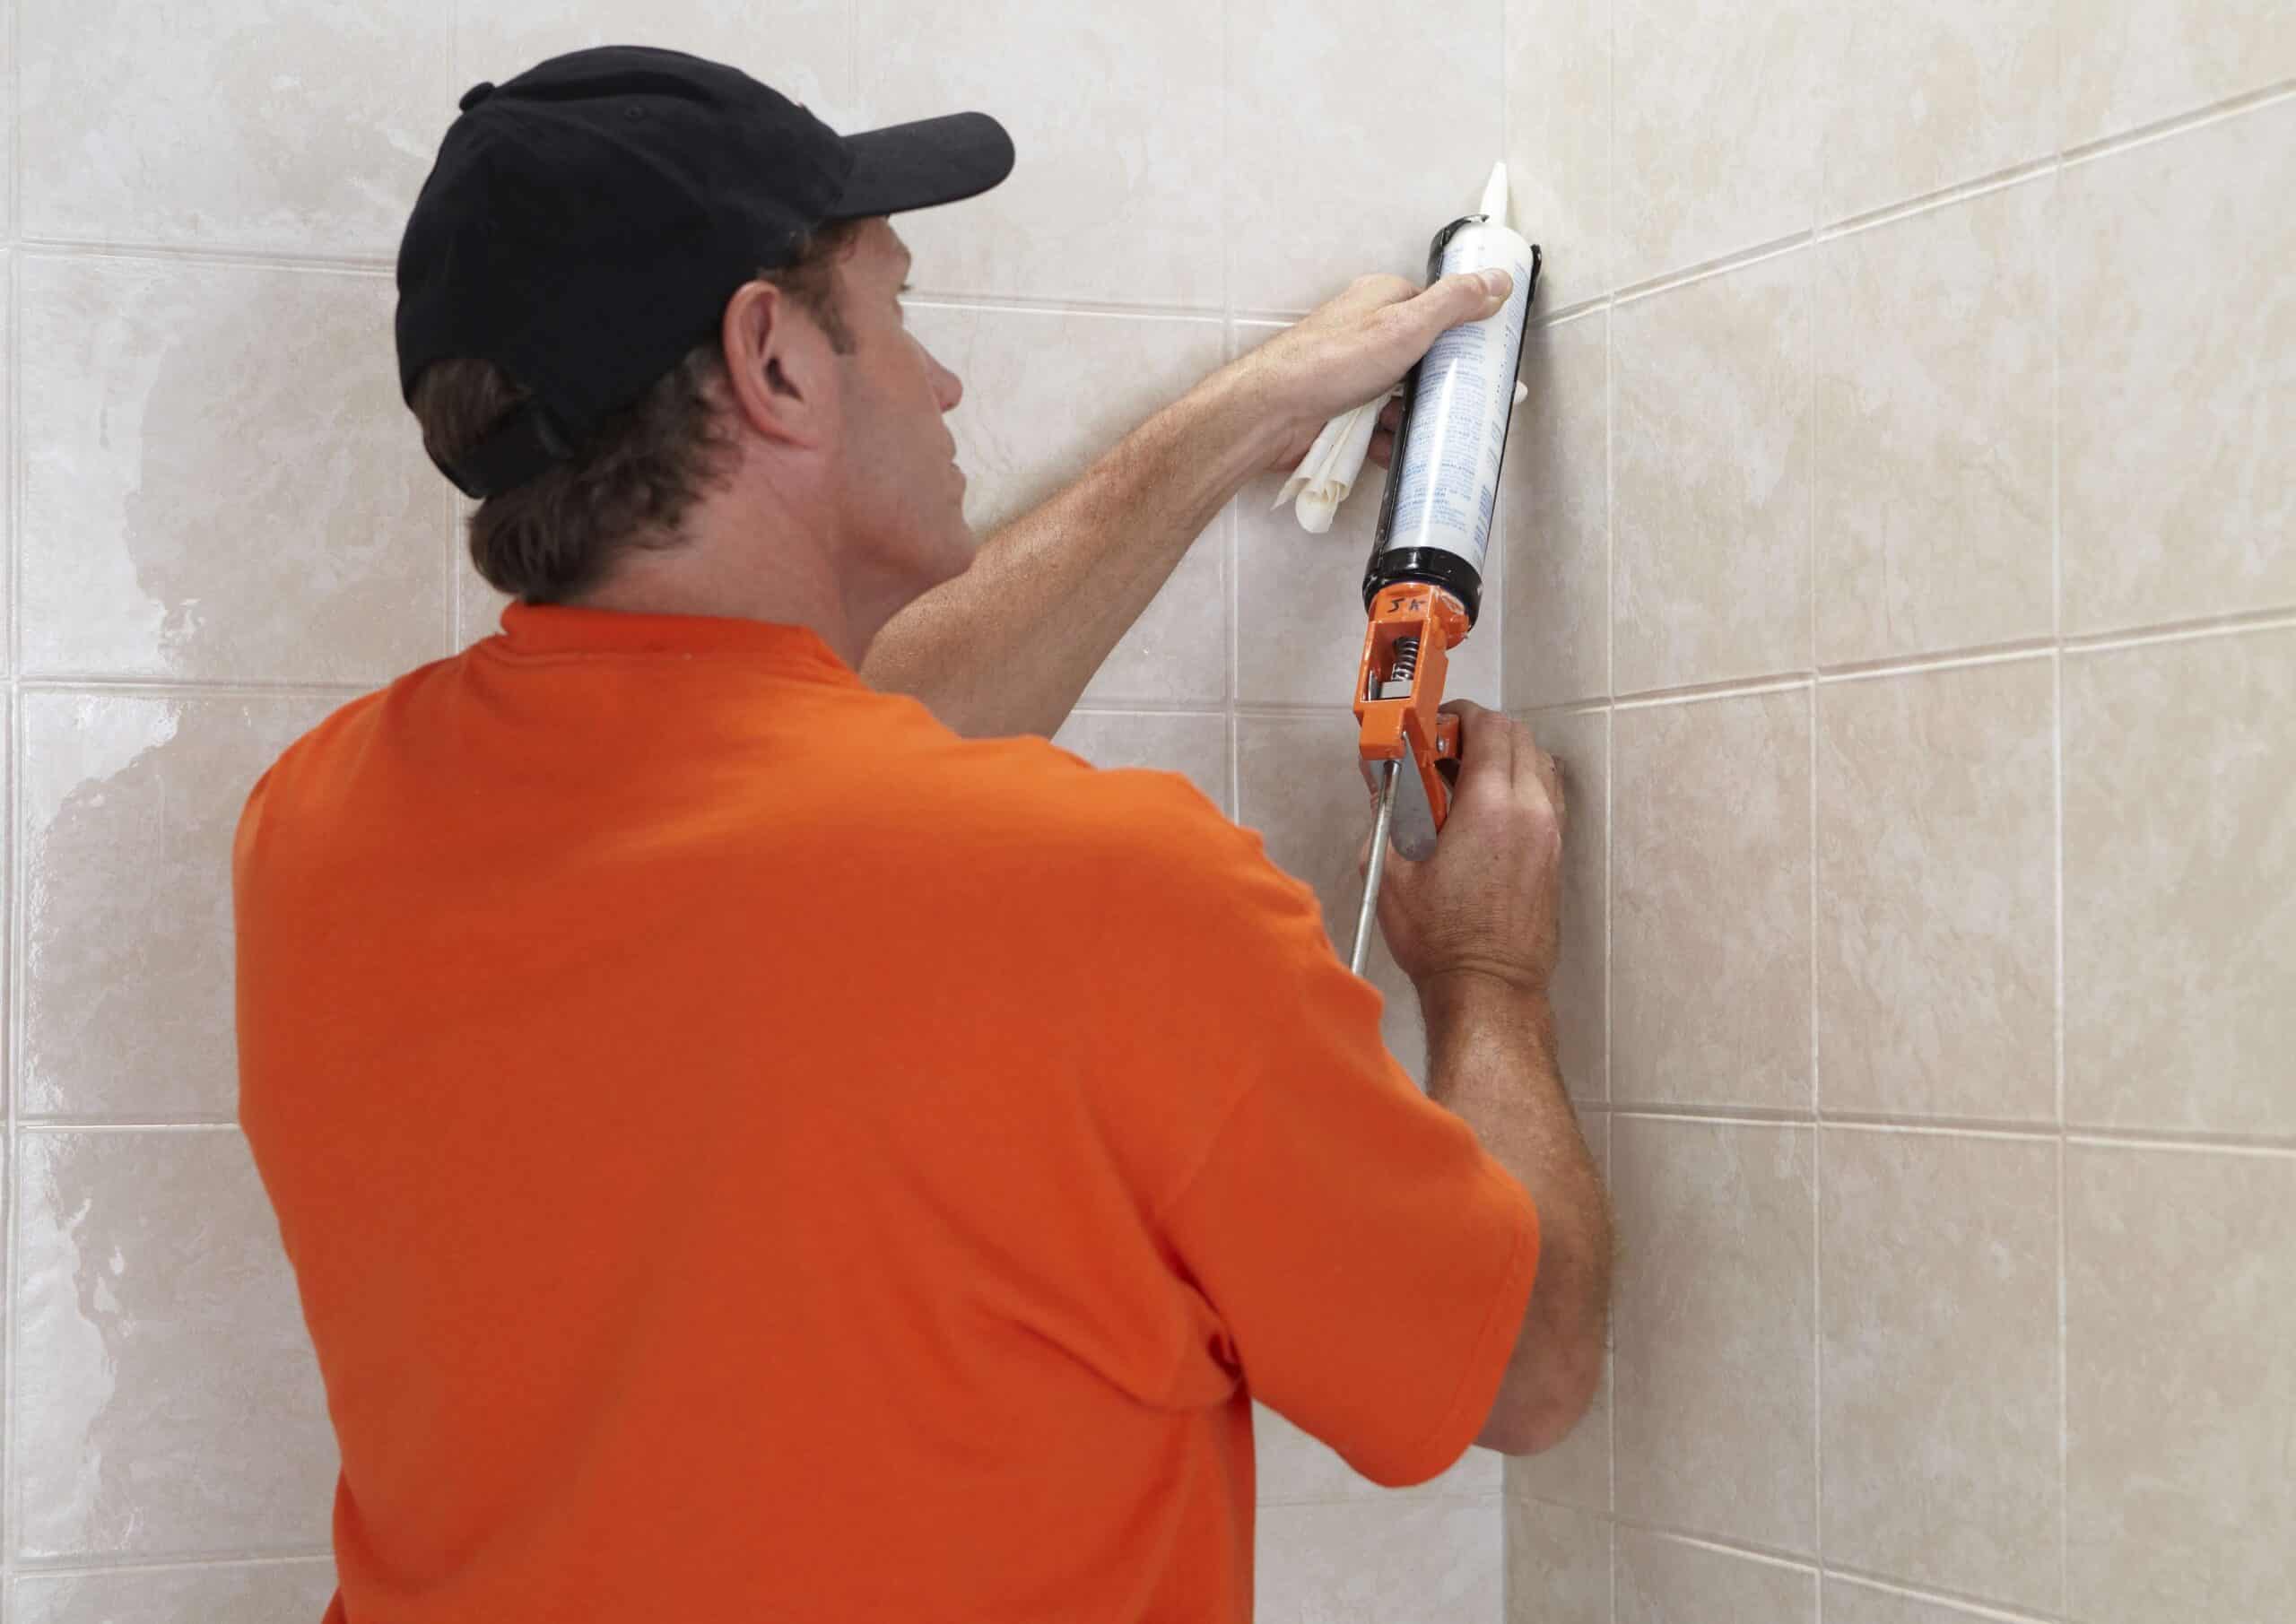
You will be most excited about your new tub or shower when the project is complete. It’s satisfying to start fresh with pristine fixtures, new walk-in shower materials, and a perfectly-caulked tub.
Plus, you’ll be able to install a bathing solution that is best for you!
Start the Bathroom Remodel Process with an Updated Shower or Tub
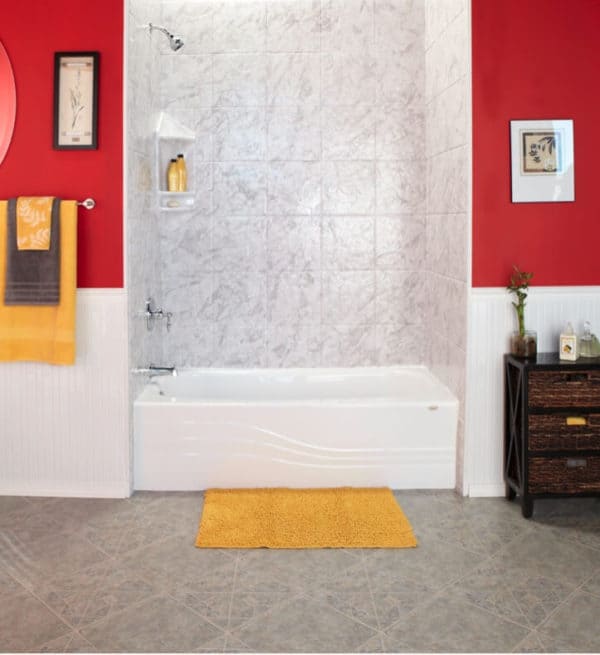
If all you want out of your bathroom makeover is to update your color scheme with new paint and a few new towels, and and updated shower or tub, consider hiring a bathroom remodeling company that is known for completing a bath remodel in one day.
And the best part? You don’t have to lift a finger!
Think of all the time and money you will save by focusing on the heart of your bathroom – the shower and bath. If you live in the Dallas/Fort Worth area, contact Woodbridge Shower & Bath.
Woodbridge Shower & Bath Can Help Complete Your Bathroom Makeover
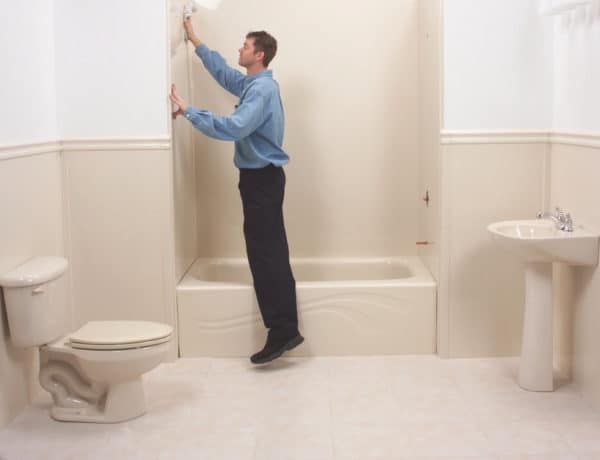
Woodbridge Shower & Bath will help you through the most complicated part of the bathroom remodeling process – installing new shower walls (and shower pan) and installing a new tub.
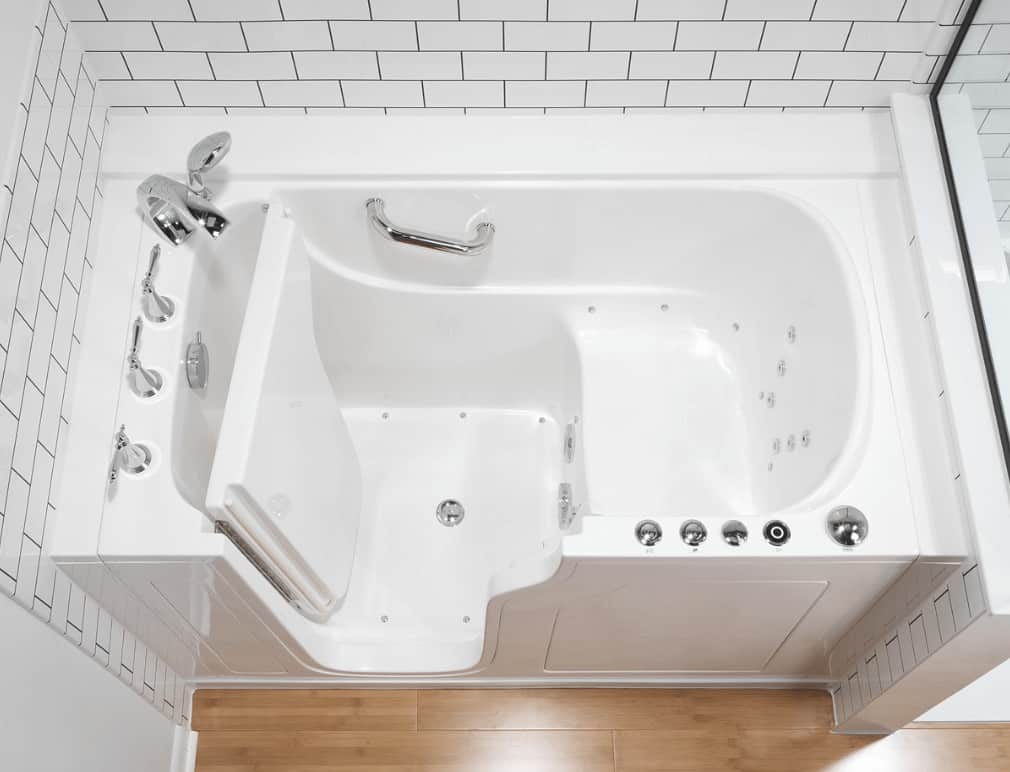
We also offer tub-to-shower conversions and will install a walk-in tub for those with mobility issues.
There’s a lot that can go wrong during bathroom remodeling projects. So put your mind at ease by hiring us for tub installation and shower replacement in Dallas, TX.
After all, Woodbridge Shower & Bath has been doing this work for decades. Our team is made up of talented designers, experienced plumbers, certified electricians, and factory-trained installers. Are you ready to talk about customizable shower or tub options? Contact Woodbridge Shower & Bath today.


